Note: In order to connect an XV Gateway to an XR Series, the panel requires Version 221 Firmware or higher.
-
Log into Security Command.
-
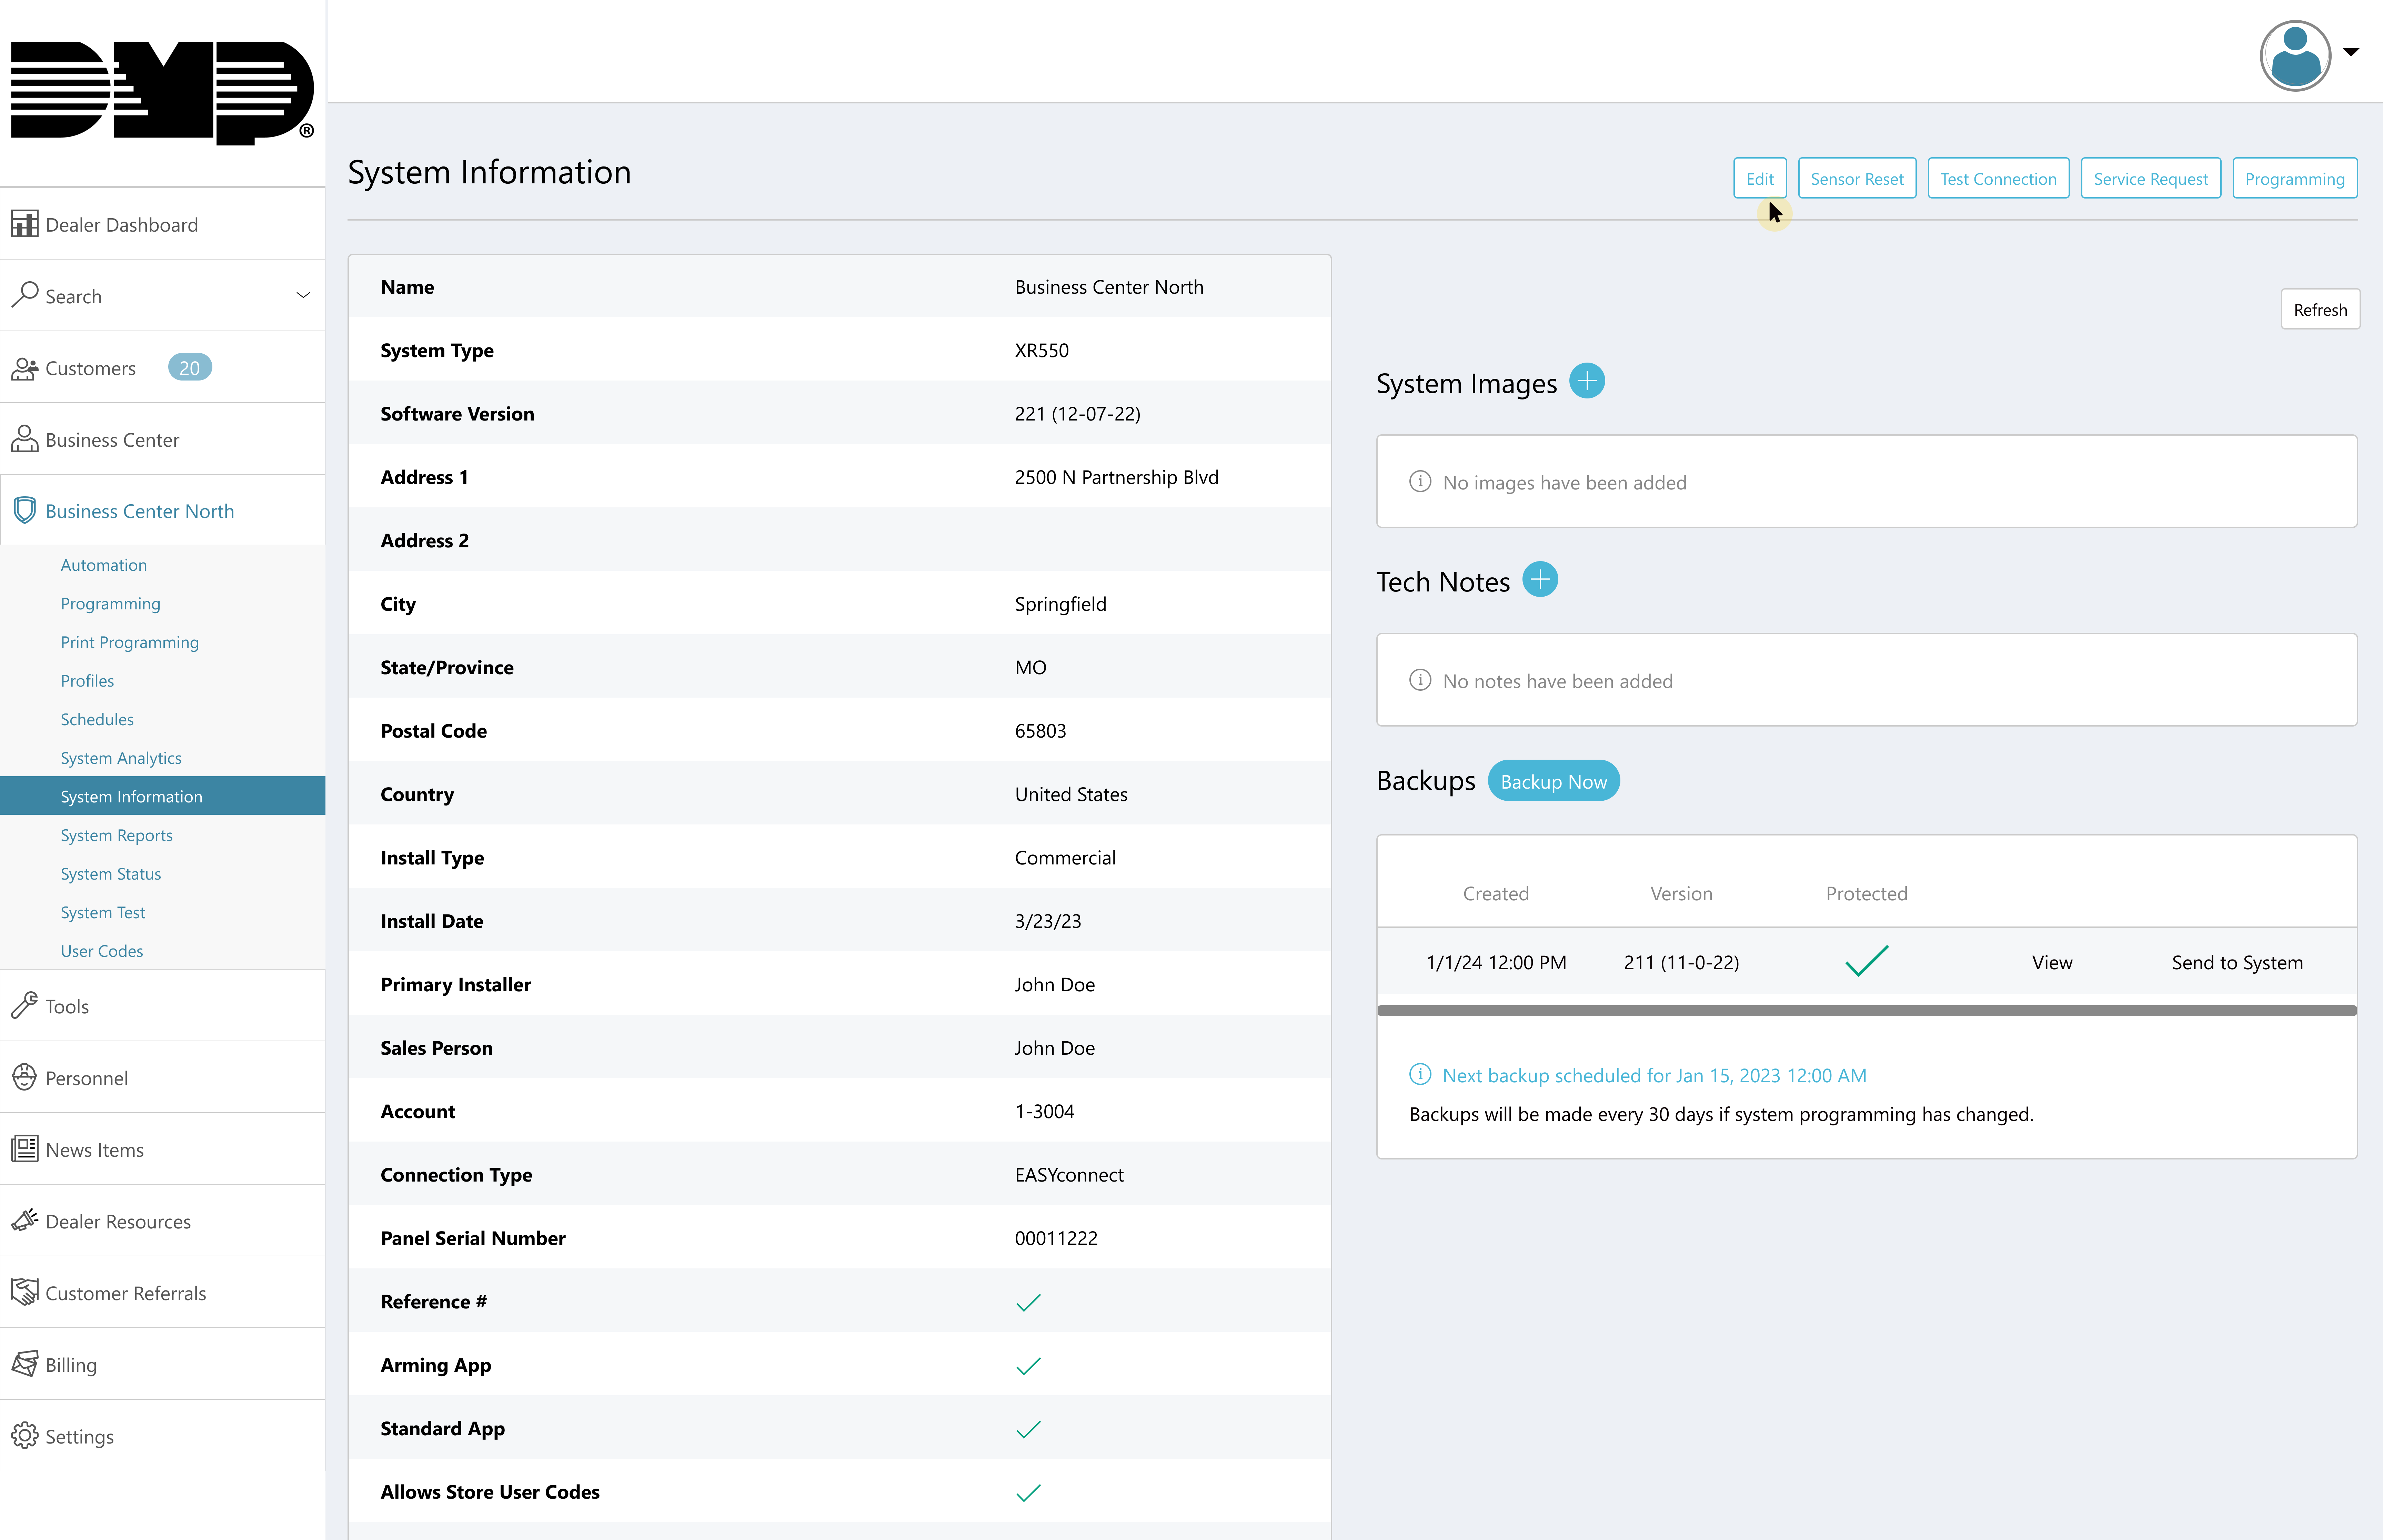
Find the location group and select the relevant location. Click Edit.
-
In Video, click the XV Gateways with AlarmVision® checkbox, then click Save.
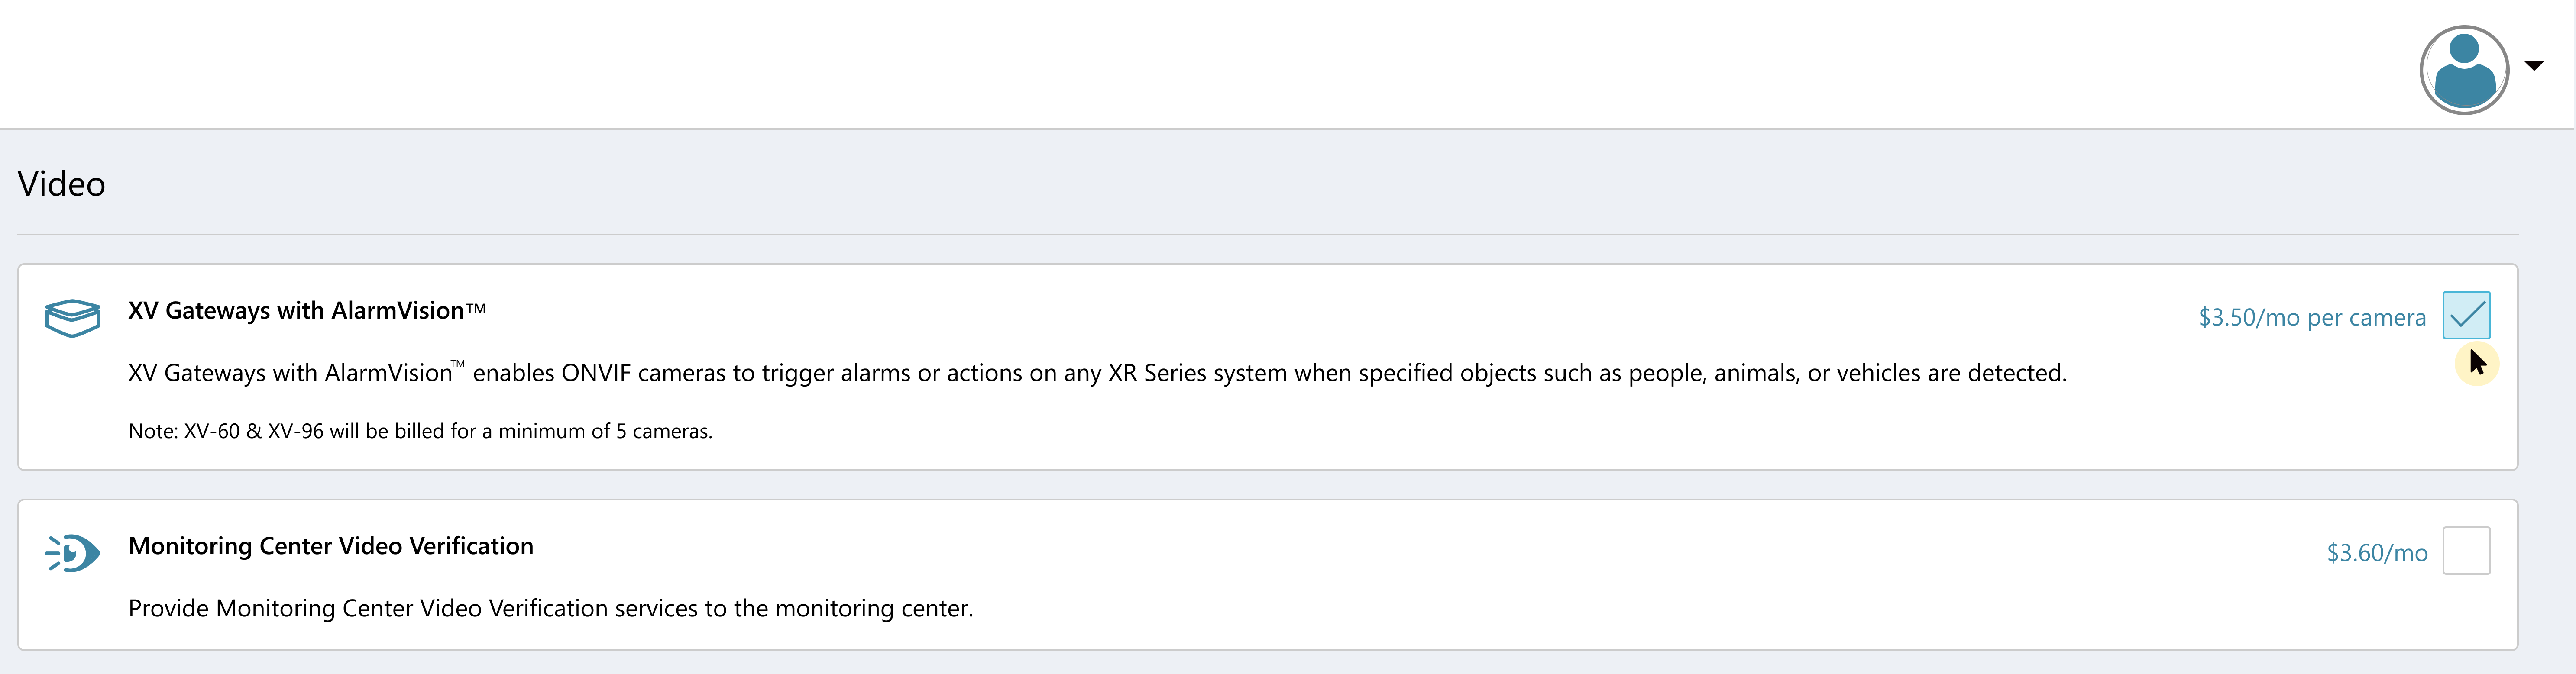
Add the XV Gateway
-
In the XV Gateway with AlarmVision® section, click + XV Gateway to add an XV Gateway.
-
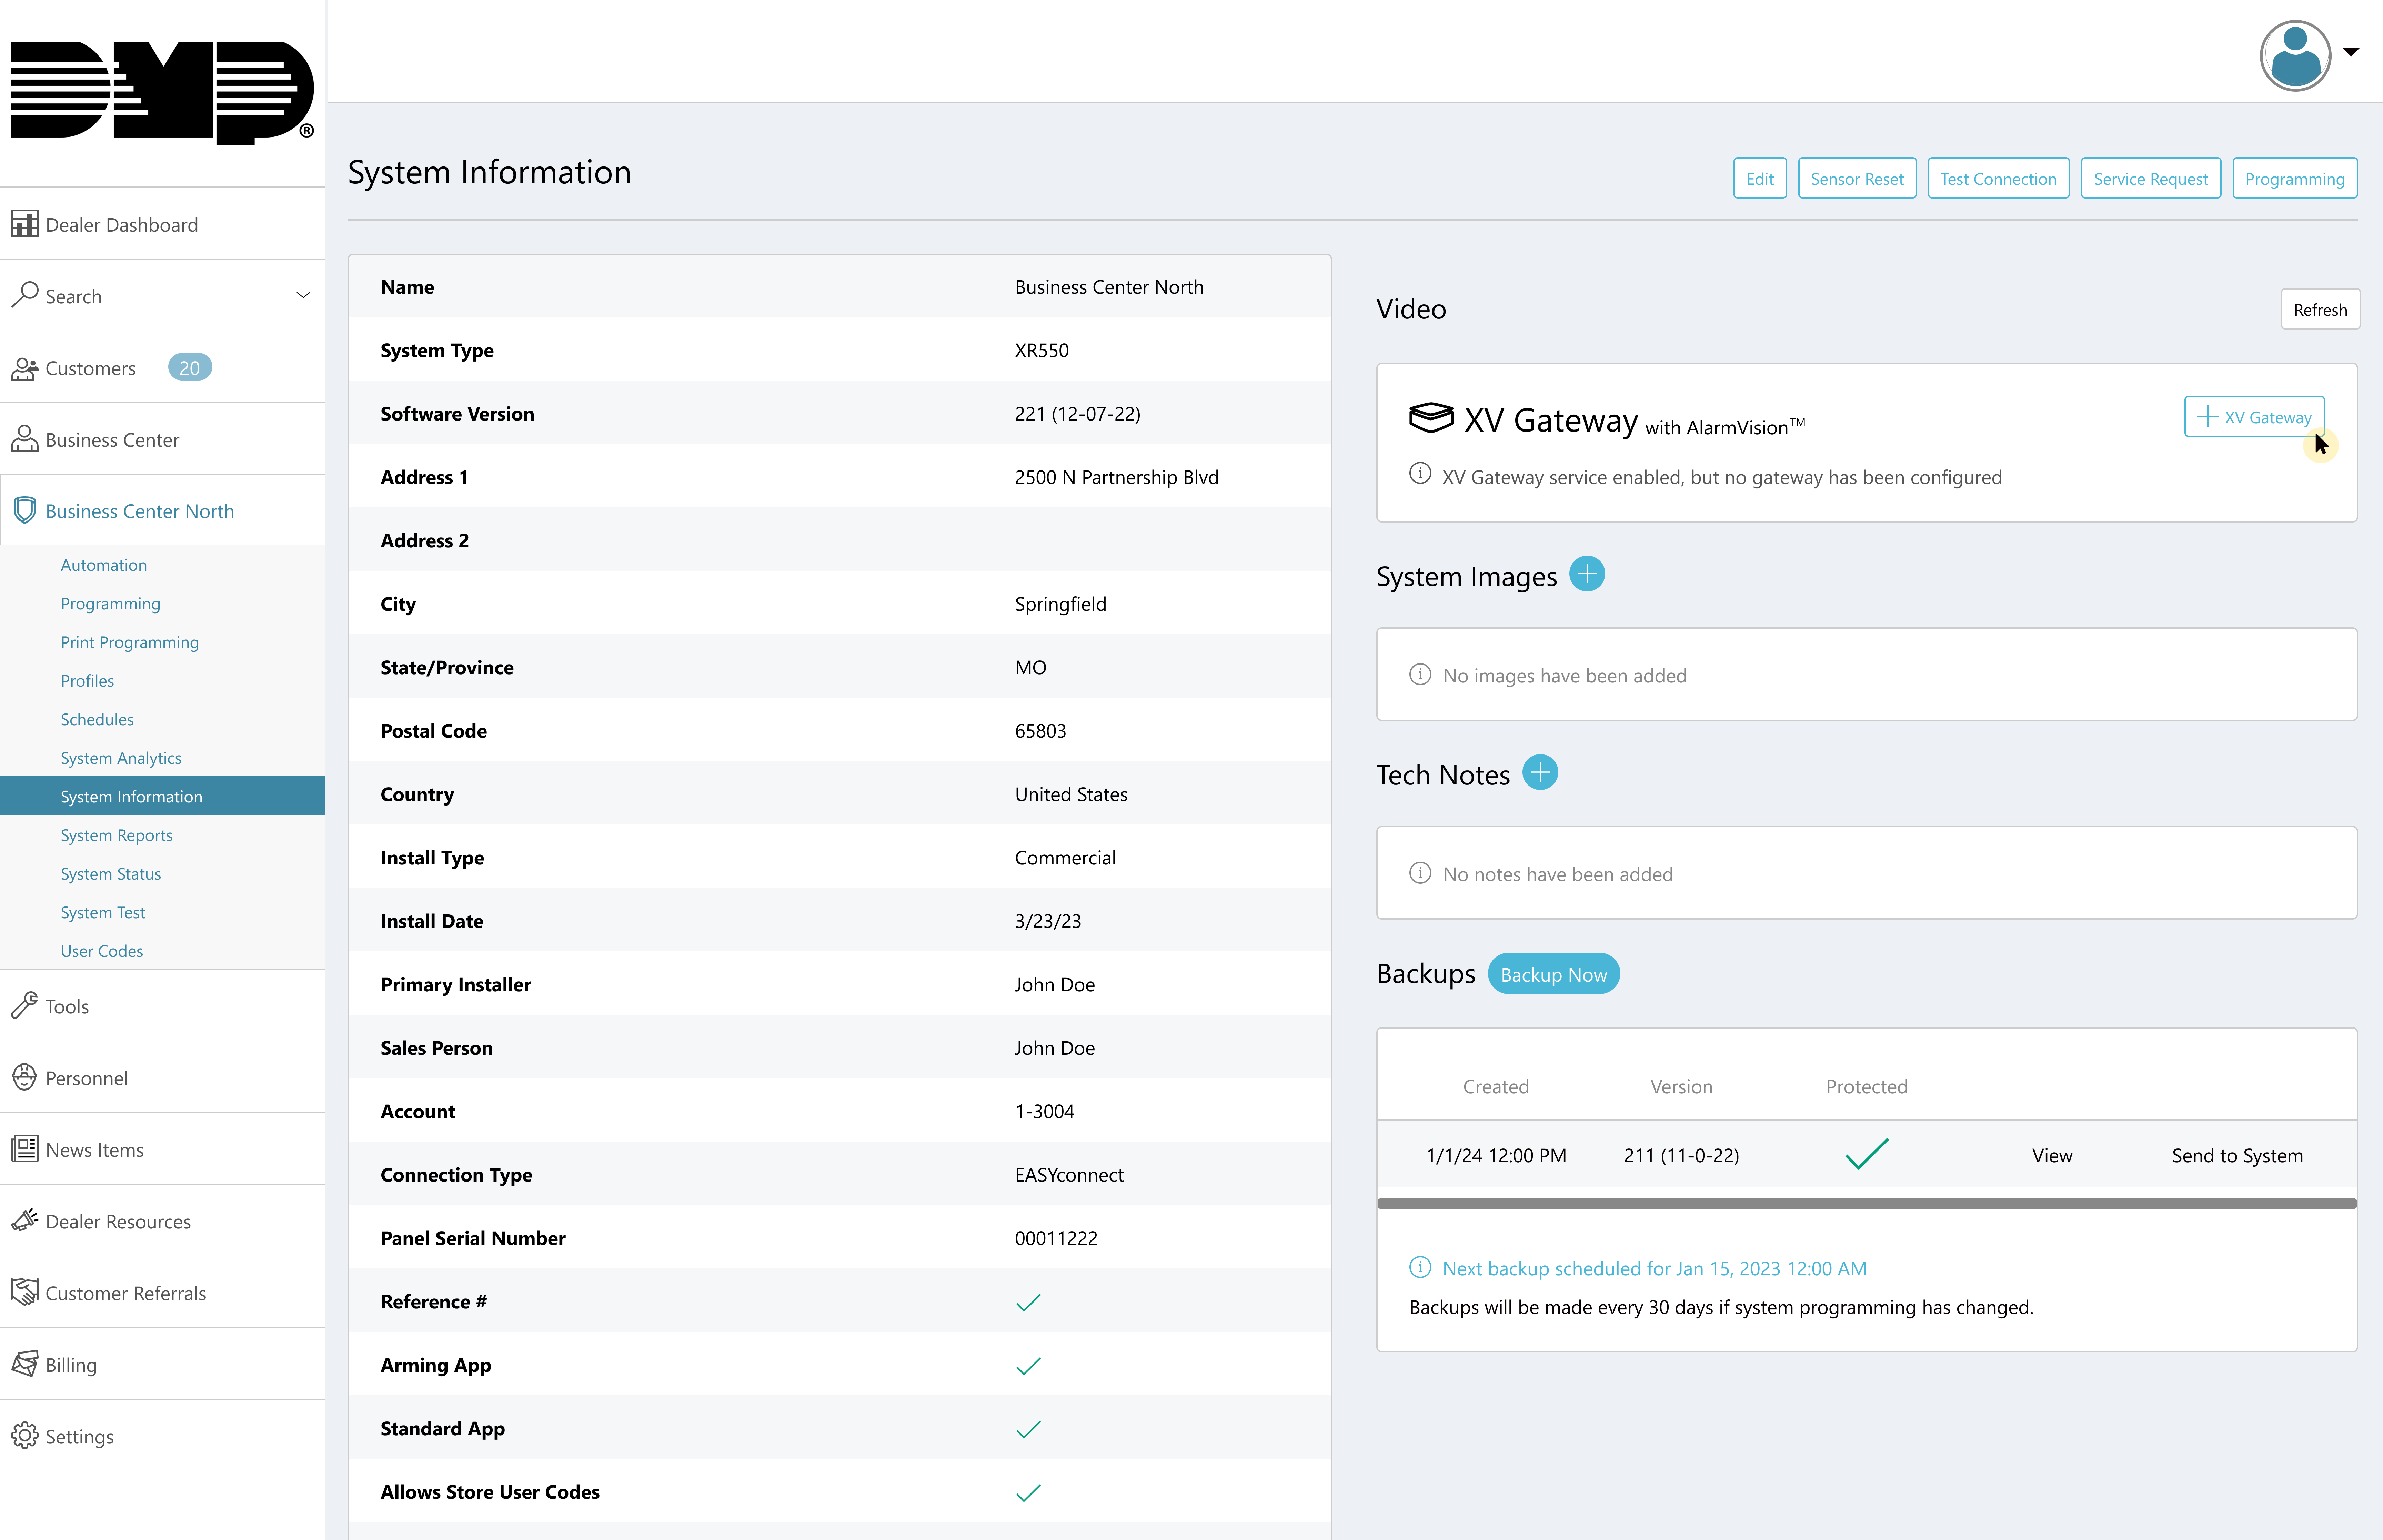
Add a Device Name and the MAC Address you want the XV Gateway connected to. Click Add.
Security Command automatically checks to see if the XV Gateway is a model XV-24, XV-60, or XV-96.
If the XV Gateway is a model XV-24, continue to the Add Cameras to the XV Gateway section below.
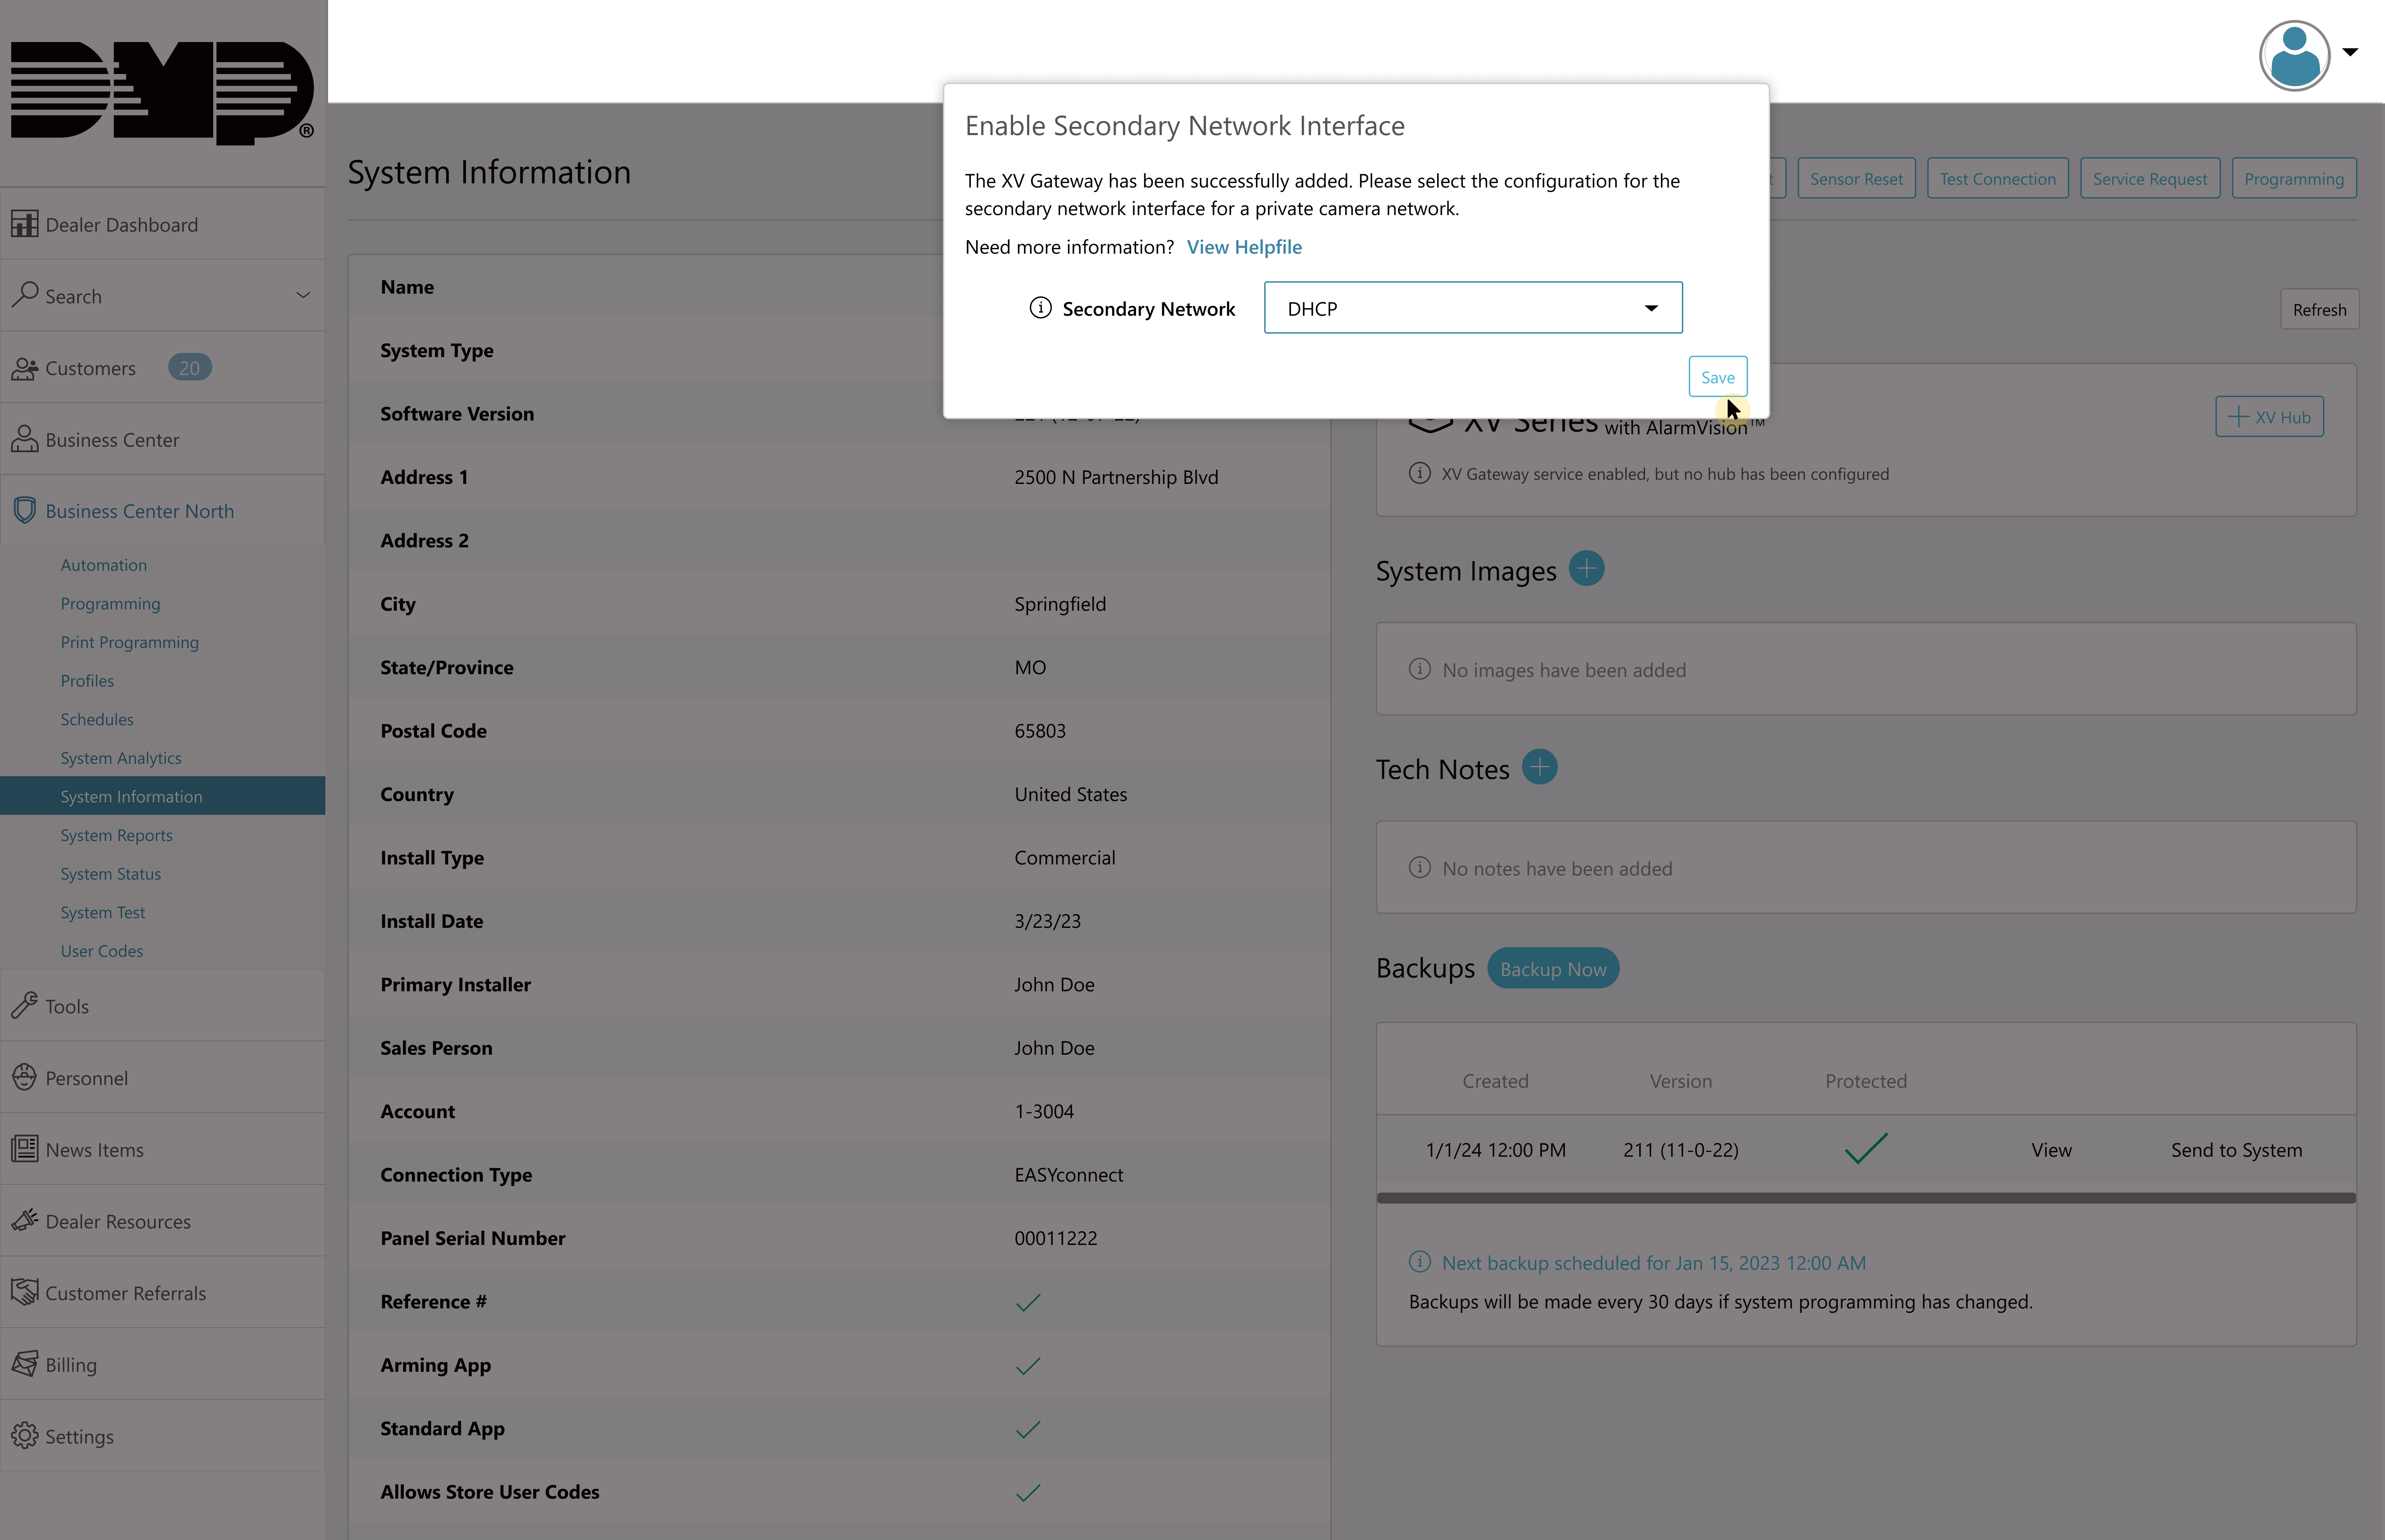
If the XV Gateway is a model XV-60 or XV-96 and the second NIC port has been connected, the following prompts display to configure a secondary NIC.
Configure Secondary NIC for Private Camera Network
There are two connection options to choose from when adding a secondary network interface to a private camera network.
The first connection option is using a DHCP Server. This option automatically assigns a dynamic IP address to the XV Gateway so it can change over time. If you can plug in a camera or device into your private network and immediately access other devices on the network, then you likely have a DHCP server.
The second connection option is using a Static IP Address. This refers to an IP address that is manually assigned to the XV Gateway and does not change automatically. If your private camera network consists of only cameras and you set up each camera with its own static IP address, then you likely do not have a DHCP server.
Before configuring a secondary network interface in Security Command, connect a network cable to the second network switch. Allow 5 minutes for the XV Gateway to scan your camera network before proceeding.
Note: The panel can only be connected to the primary network connection through the network switch or subnet.
DHCP
-
DHCP is automatically selected in Security Command. Click Save.
Note: Select DHCP to allow your private camera network’s DHCP server to assign the address for your XV Gateway’s secondary NIC.
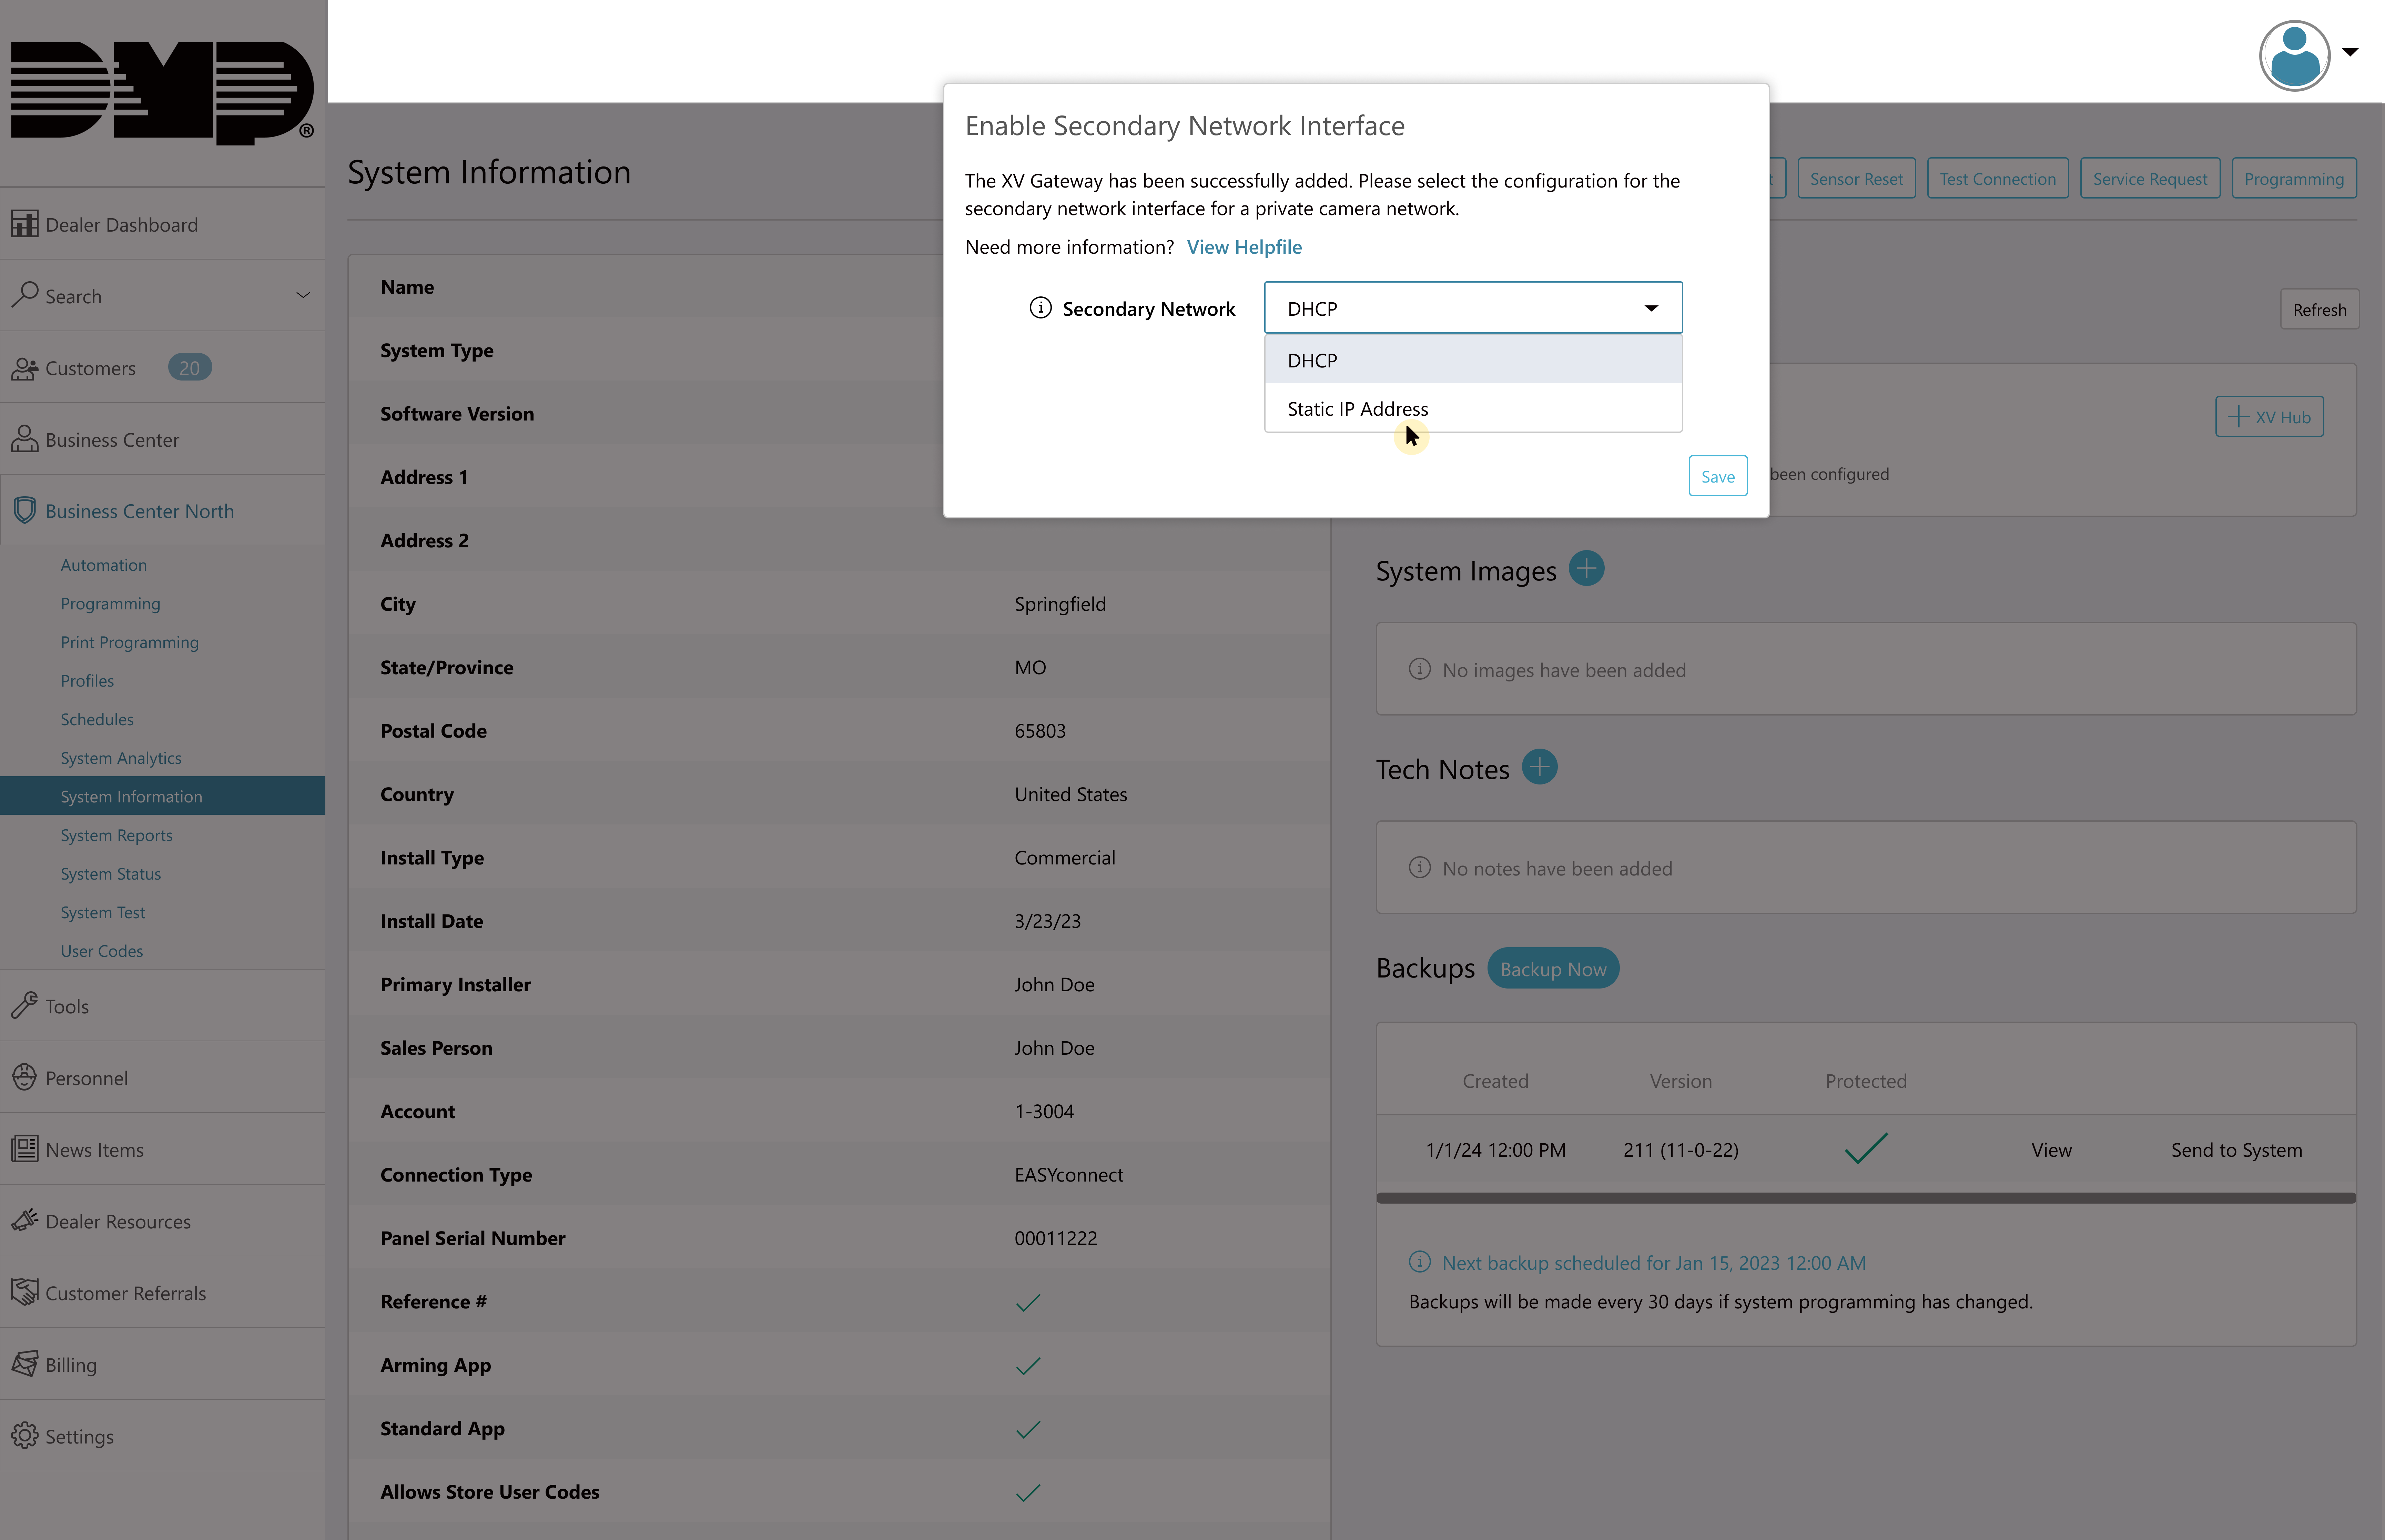
Static IP
-
Select Static IP Address from the drop-down menu.
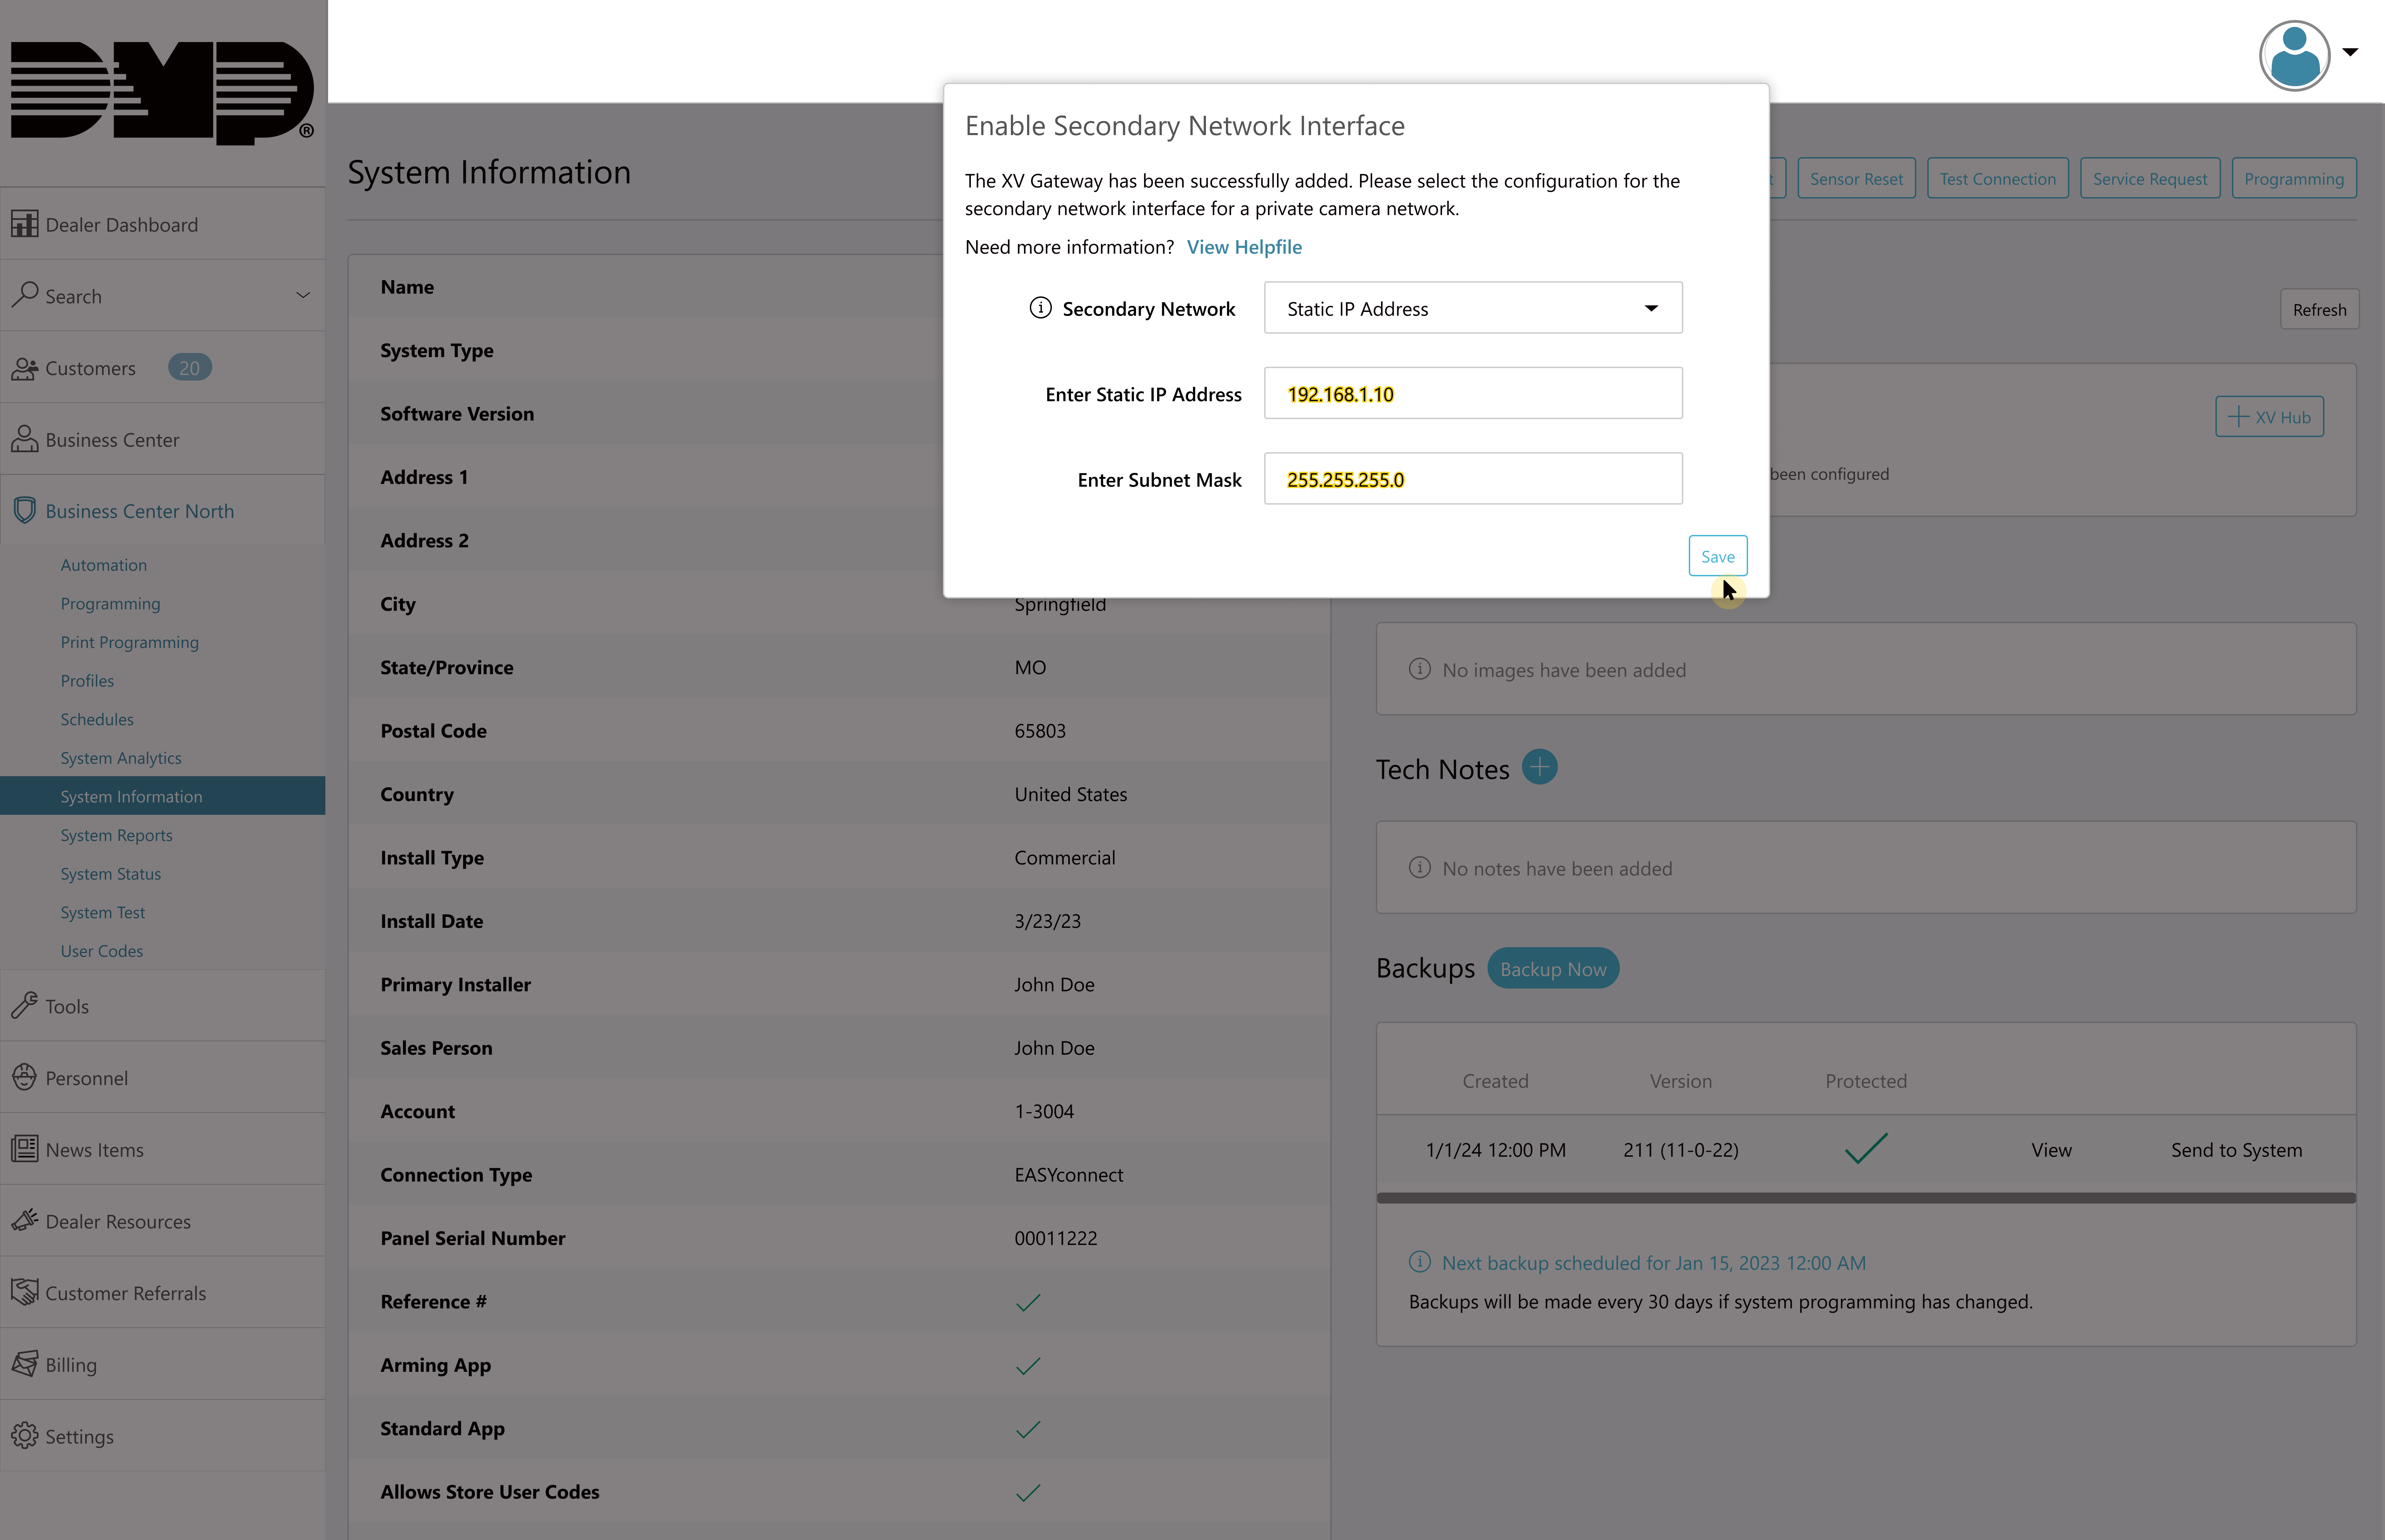
Note: If your private network has a DHCP Server, ensure the Static IP Address is reserved.
-
Enter the Static IP Address and Subnet Mask information. Then, click Save.
Note: Ensure that the Static IP Address and Subnet Mask are the same network segment used for the cameras on your private camera network.
Configure a Secondary NIC After XV Gateway Has Been Added
-
After setting up the XV Gateway, connect a network cable to the secondary network port on the back of the XV Gateway. Allow up to 5 minutes for the XV Gateway to scan your camera network. Refresh the Security Command browser before proceeding.
-
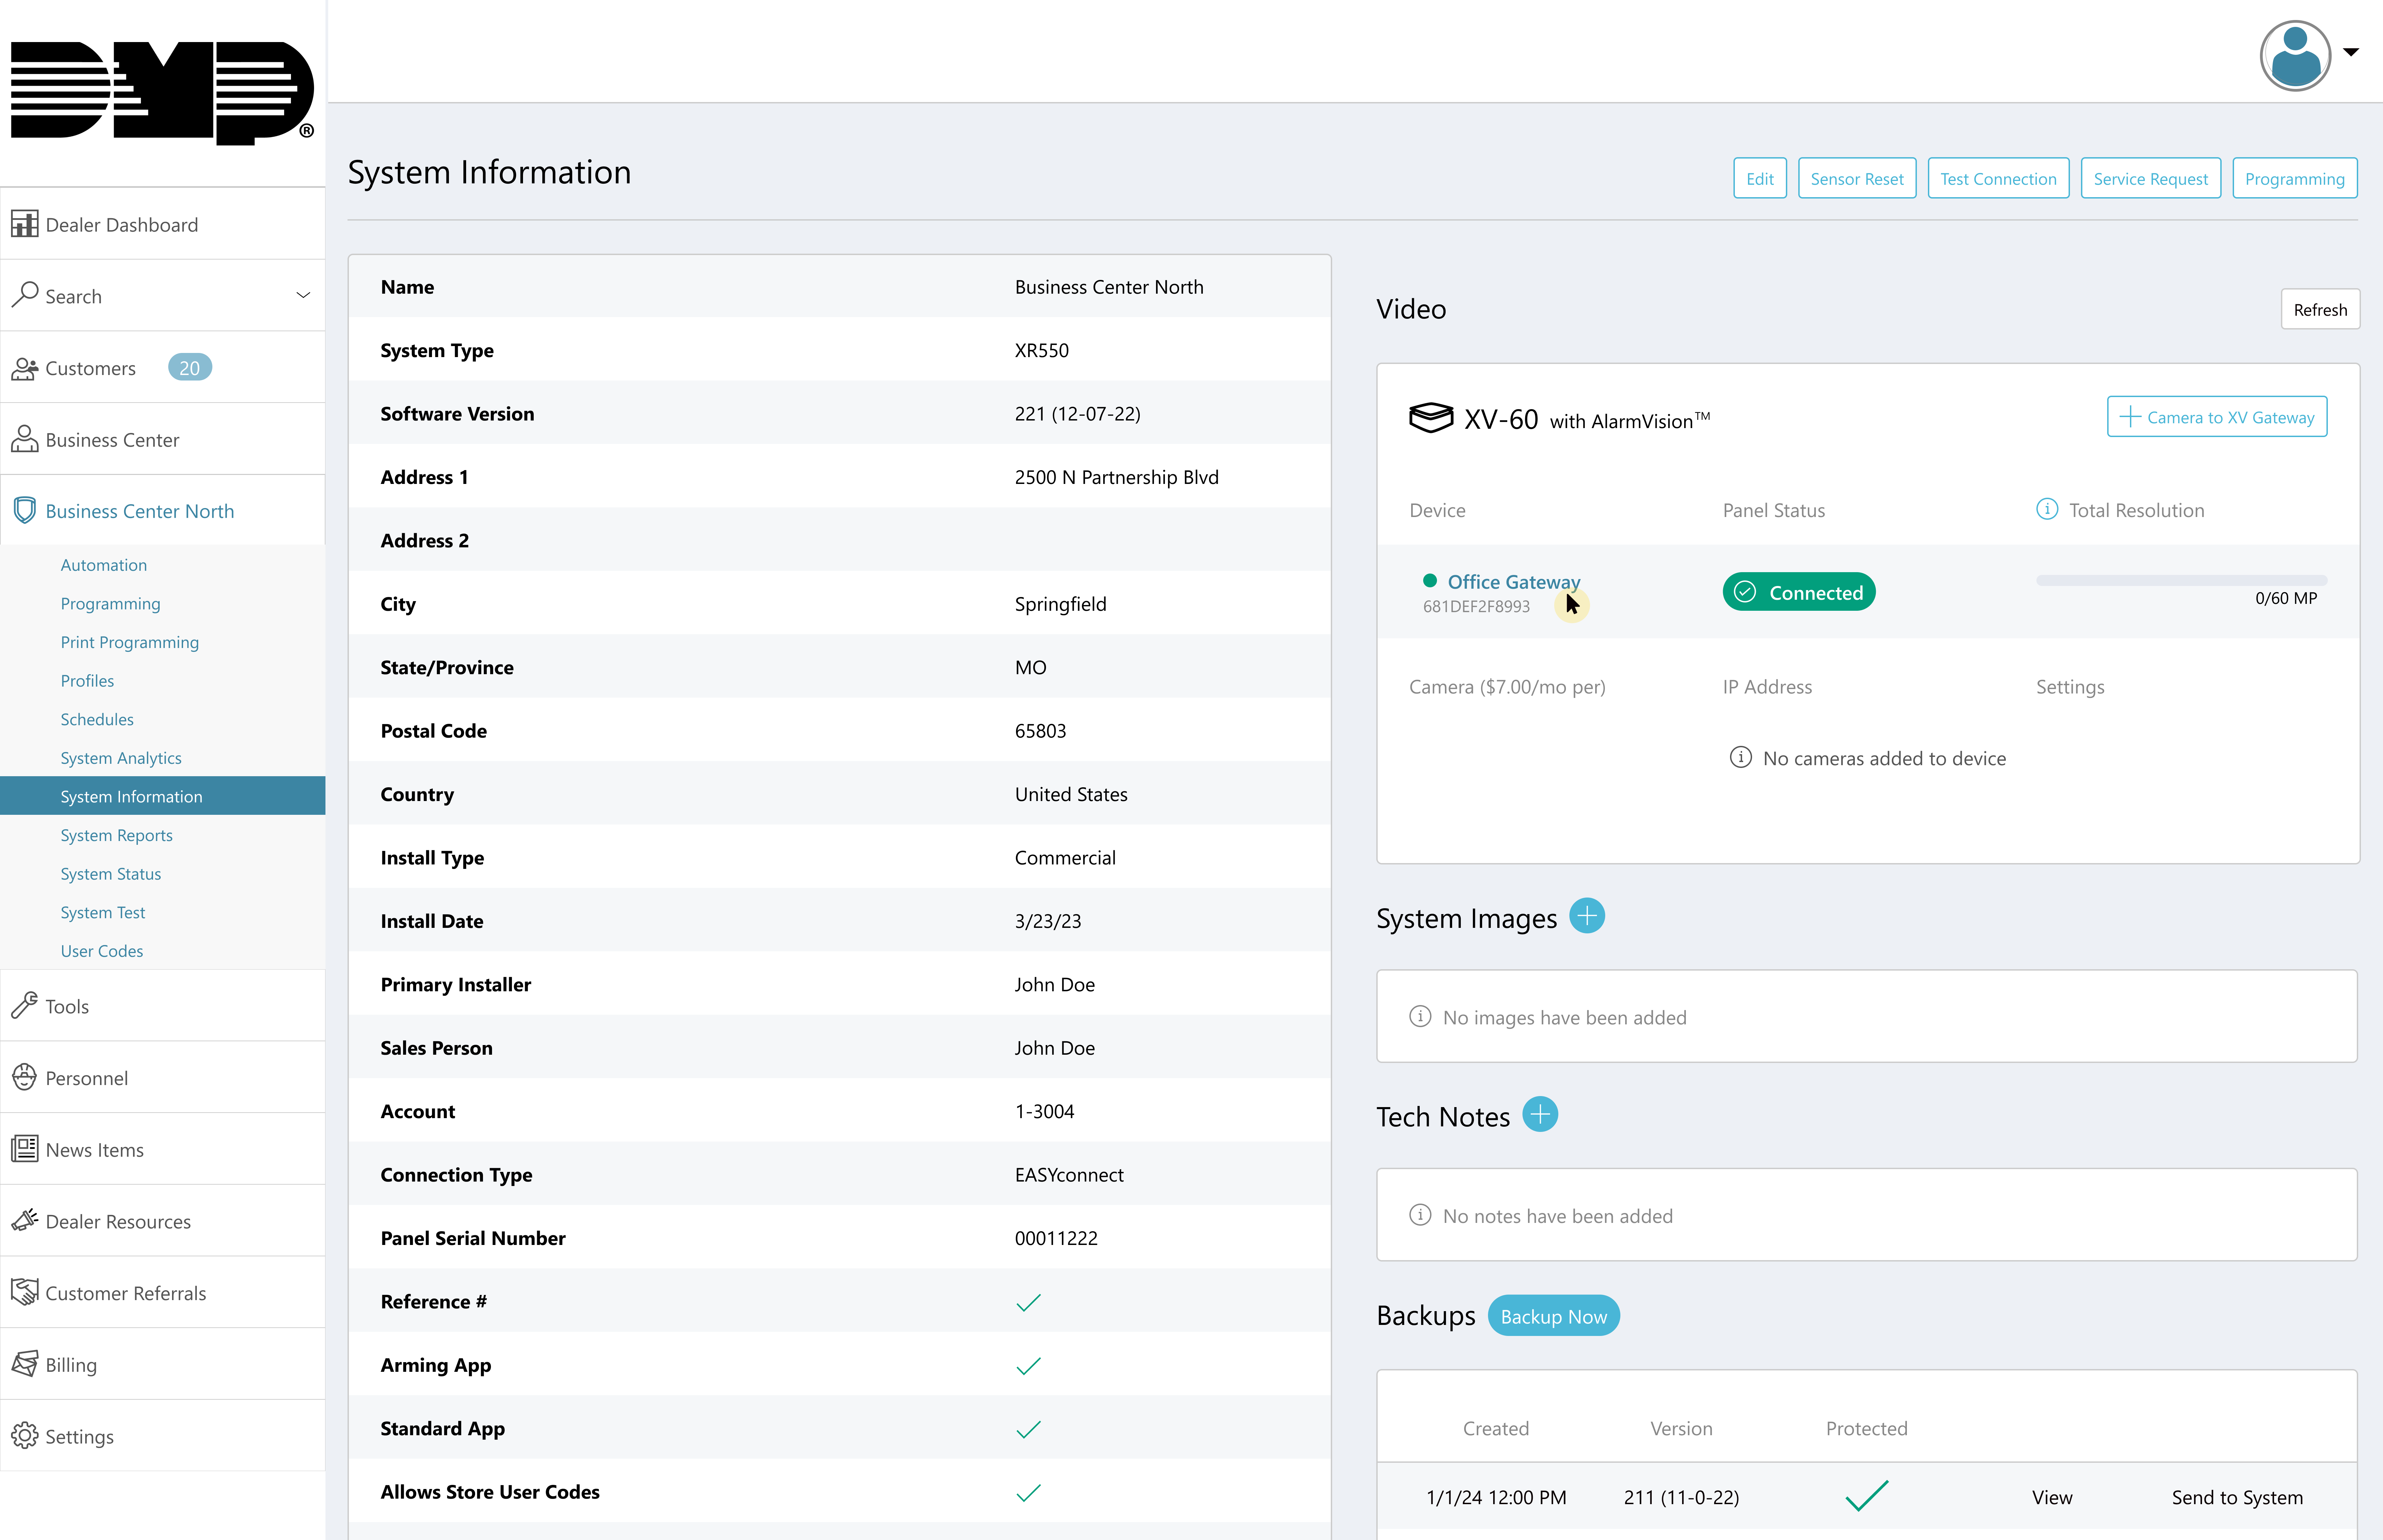
Select the XV Gateway from the XV Series with AlarmVision® section.
-
In Secondary Network, use the drop-down menu to select the network connection type.
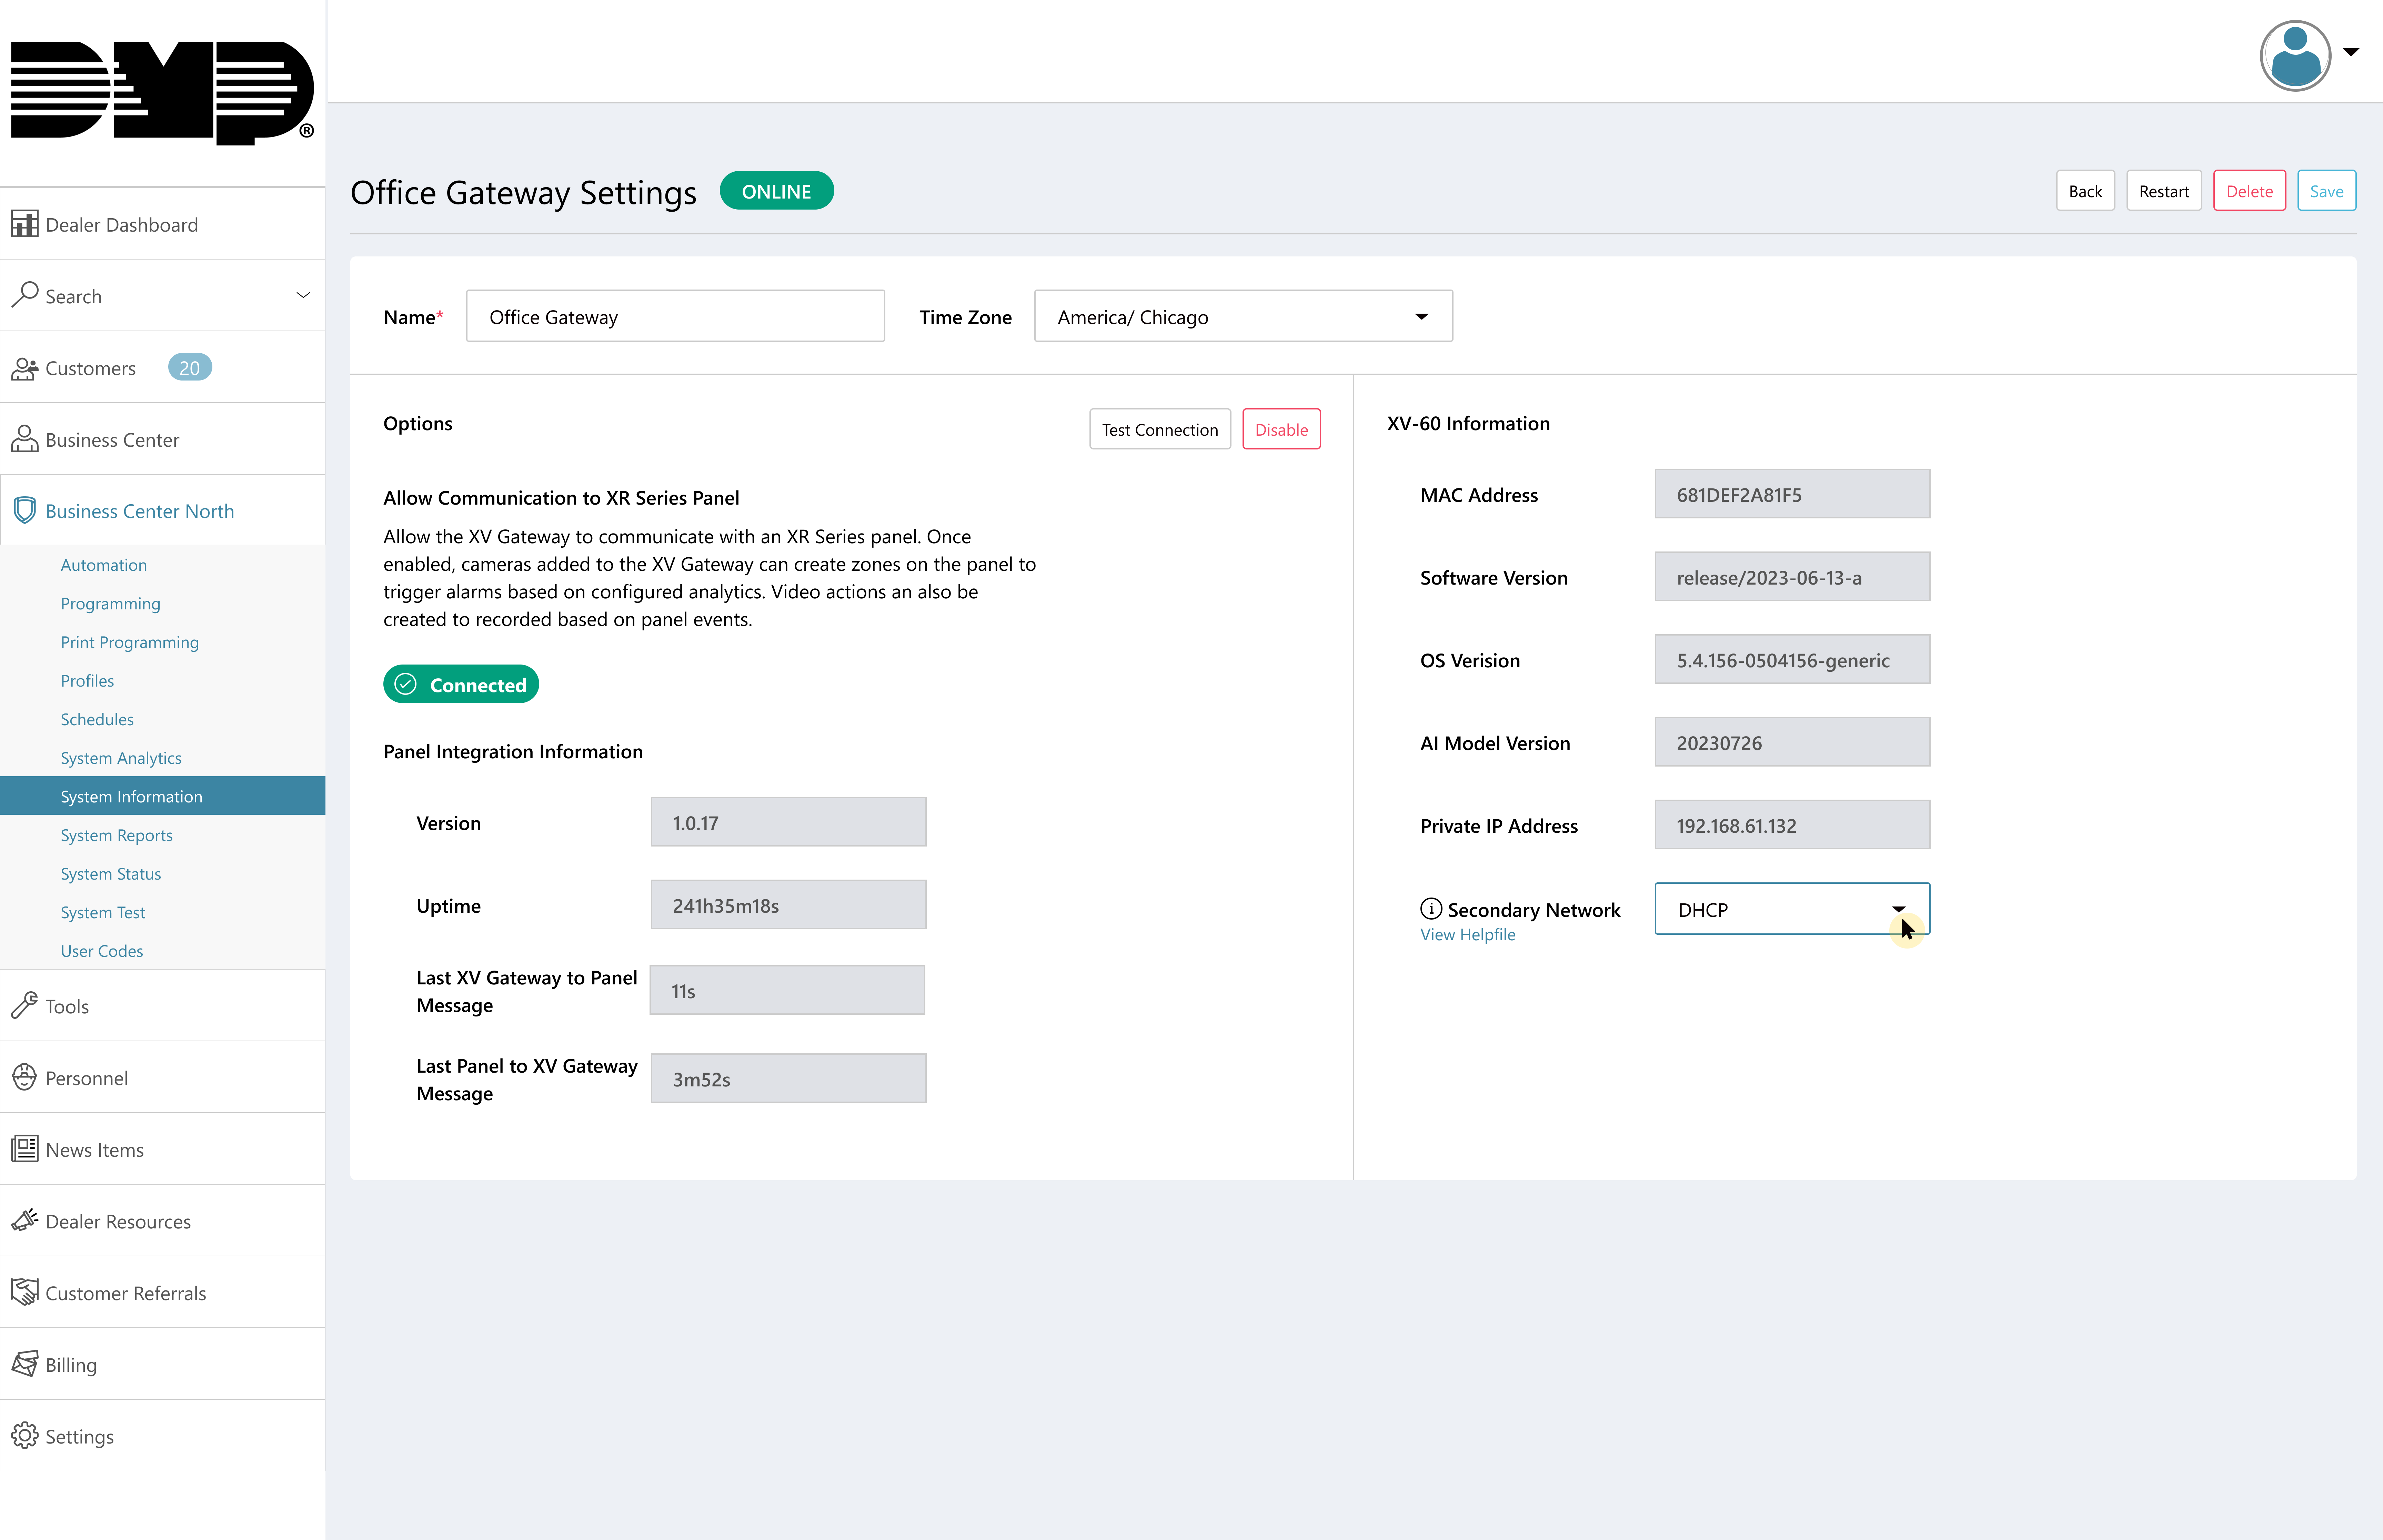
-
Click Save to apply any changes to the XV Gateway.
.png?cb=326650800029789977ba2f3474bb146a)